Introduction to White Chocolate
White chocolate—a name that instantly brings to mind the creamy, smooth, and luxurious essence of this sweet delight. Although it’s often overshadowed by its darker counterparts, white chocolate is truly a star in its own right. Loved for its rich, buttery flavor, it has secured a special place in desserts and confections around the world. But what exactly is white chocolate, and how does learning how to prepare white chocolate unlock its full potential? Let’s explore the intriguing details of this unique treat, including how to prepare white chocolate at home, its fascinating history, and its evolving role in modern cuisine.
What Is White Chocolate and How to Prepare It?

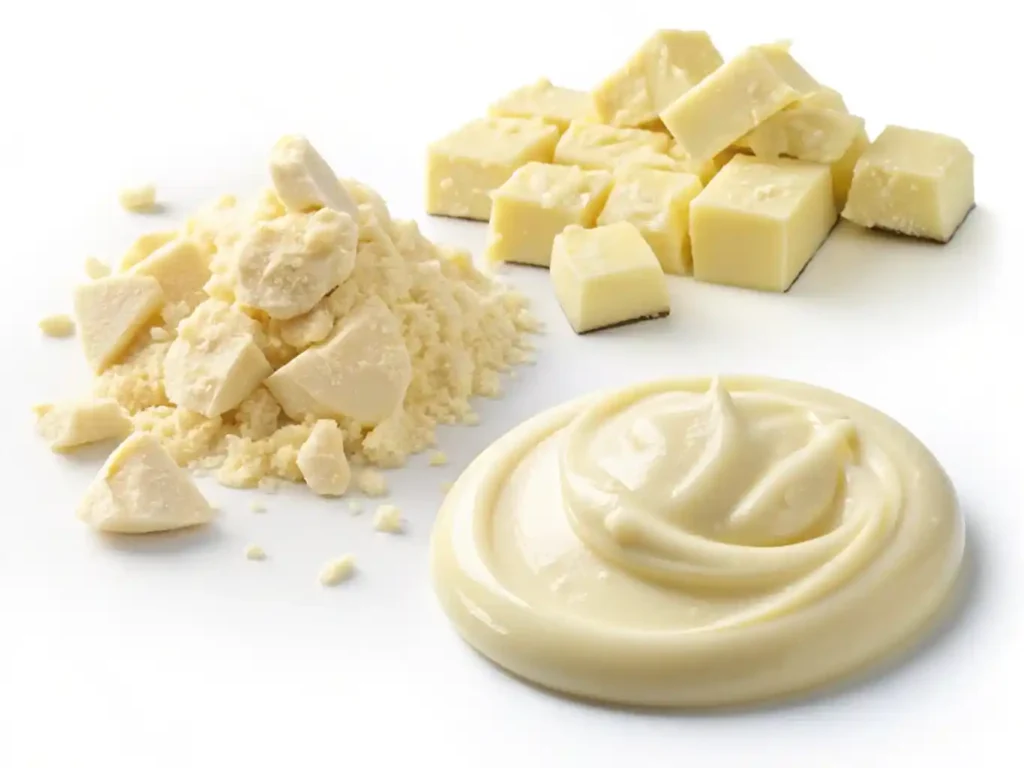
White chocolate isn’t just a paler sibling of milk or dark chocolate—it’s a category all its own. Unlike traditional chocolate, which contains cocoa solids, white chocolate is crafted from cocoa butter, sugar, and milk solids. The absence of cocoa solids is what gives white chocolate its creamy, ivory color and delicate taste.
While some argue it shouldn’t even be called chocolate due to this absence, others appreciate its unique qualities. For example, it’s less bitter than dark chocolate and doesn’t have the robust cocoa flavor, making it a favorite for those who prefer a sweeter and milder treat.
Ingredients That Define White Chocolate
White chocolate’s identity lies in its ingredients. The main components include:
- Cocoa Butter: Extracted from cocoa beans, it’s the pure fat that gives white chocolate its luscious texture.
- Sugar: Adds sweetness and balances the rich buttery notes.
- Milk Solids: These contribute to the creamy, milky taste.
High-quality white chocolate often includes vanilla or other flavorings to enhance its taste, while lower-quality versions may substitute cocoa butter with cheaper vegetable fats—a detail that affects the final product’s taste and texture significantly.
Differences Between White Chocolate and Other Chocolates
White chocolate stands out from milk and dark chocolates due to its composition:
- Cocoa Content: Dark chocolate has the highest cocoa solids, milk chocolate has some, and white chocolate has none.
- Flavor Profile: Dark chocolate is intense and slightly bitter, milk chocolate is sweeter with a creamy cocoa flavor, and white chocolate is buttery and sweet.
- Appearance: The creamy, off-white color of white chocolate makes it easily distinguishable from its darker counterparts.
These differences make white chocolate ideal for certain desserts where a more subtle and sweet flavor is desired. It’s also less prone to overpowering other ingredients, making it a versatile choice for creative recipes.
History of White Chocolate
The story of white chocolate is as interesting as its taste. Though it feels modern, white chocolate has a rich (pun intended!) history that dates back nearly a century.
Origins and Popularization
White chocolate was first introduced in Switzerland during the 1930s by the iconic company Nestlé. At the time, the goal wasn’t to create a groundbreaking dessert but rather to find a way to use excess cocoa butter, a by-product of chocolate production. Interestingly, this marked the beginning of learning how to prepare white chocolate in innovative ways. The result? A creamy confection that quickly gained popularity, especially in Europe.
By the mid-20th century, white chocolate had made its way to the United States, becoming a sought-after ingredient for candies, bars, and baking. As more people discovered how to prepare white chocolate for unique desserts, it gained a strong following. Despite debates among purists over its lack of cocoa solids, white chocolate has firmly cemented its place, particularly in premium confections and creative dessert recipes.
White Chocolate in Modern Desserts
Fast forward to today, and white chocolate has become a culinary powerhouse. From velvety mousses to elegant drizzles on cakes, it’s hard to imagine desserts without it. It’s particularly beloved in:
- Ganache and Truffles: White chocolate forms the creamy base for these indulgent treats.
- Baking: Think white chocolate chip cookies or blondies.
- Dessert Toppings: Its ability to melt smoothly makes it perfect for glazing and decorating.
Moreover, white chocolate has gained a reputation for pairing well with bold flavors like matcha, raspberry, and even spicy chili. It’s not just about sweetness—it’s about balance and enhancing other ingredients.
Understanding the Basics of Preparing White Chocolate
Learning how to prepare white chocolate from scratch or using it in recipes isn’t as intimidating as it might seem. With the right ingredients, tools, and techniques, anyone can master how to prepare white chocolate to create a creamy, rich product that’s perfect for various uses. From understanding the essential ingredients to achieving the ideal consistency, this section guides you through how to prepare white chocolate with confidence and ease.
Key Ingredients for White Chocolate
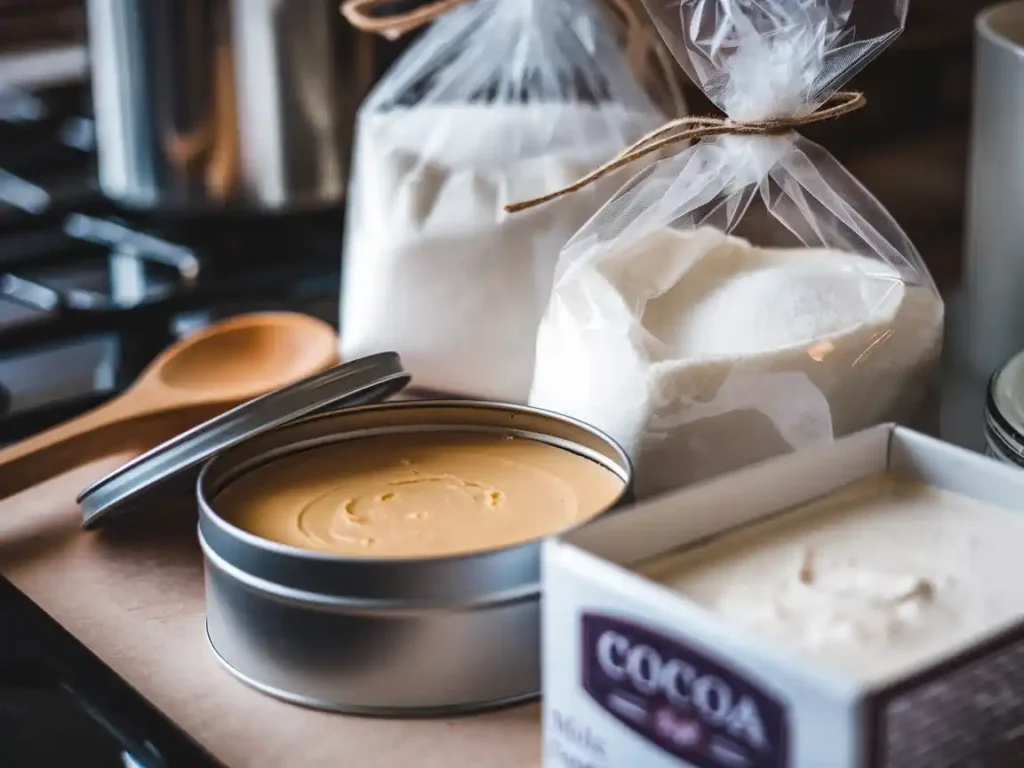
Every great white chocolate starts with a few essential ingredients. While the list isn’t extensive, the quality of these components matters a lot. Here’s what you’ll need:
Cocoa Butter, Sugar, and Milk Solids
- Cocoa Butter: This is the foundation of white chocolate, giving it that luxurious melt-in-your-mouth texture. Always opt for high-quality, food-grade cocoa butter for the best results.
- Sugar: Granulated sugar is the standard choice, but superfine sugar can dissolve more easily during preparation, providing a smoother finish.
- Milk Solids: Powdered milk works best, as it mixes evenly and imparts that creamy flavor white chocolate is known for.
These three ingredients combine to create the base, but you can always add vanilla or other flavor extracts to enhance the taste.
Essential Tools and Equipment
Success in preparing white chocolate also depends on having the right tools. Using subpar equipment can lead to uneven textures or even burnt chocolate. To make the process seamless, keep the following on hand:
- Double Boiler: Prevents direct heat, which can easily scorch cocoa butter.
- Silicone Spatula: Ensures thorough mixing without scratching your cookware.
- Thermometer: Temperature is critical when working with chocolate, so an accurate kitchen thermometer is non-negotiable.
- Molds: For shaping the finished product into bars or decorative pieces.
With these tools, you’re set up for success, minimizing potential mishaps along the way.
Preparation Techniques Step-by-Step

Now that you know the ingredients and tools required, it’s time to dive into the process itself. While it’s relatively straightforward, patience is key to achieving that silky texture and flawless consistency.
Mixing and Melting Ingredients
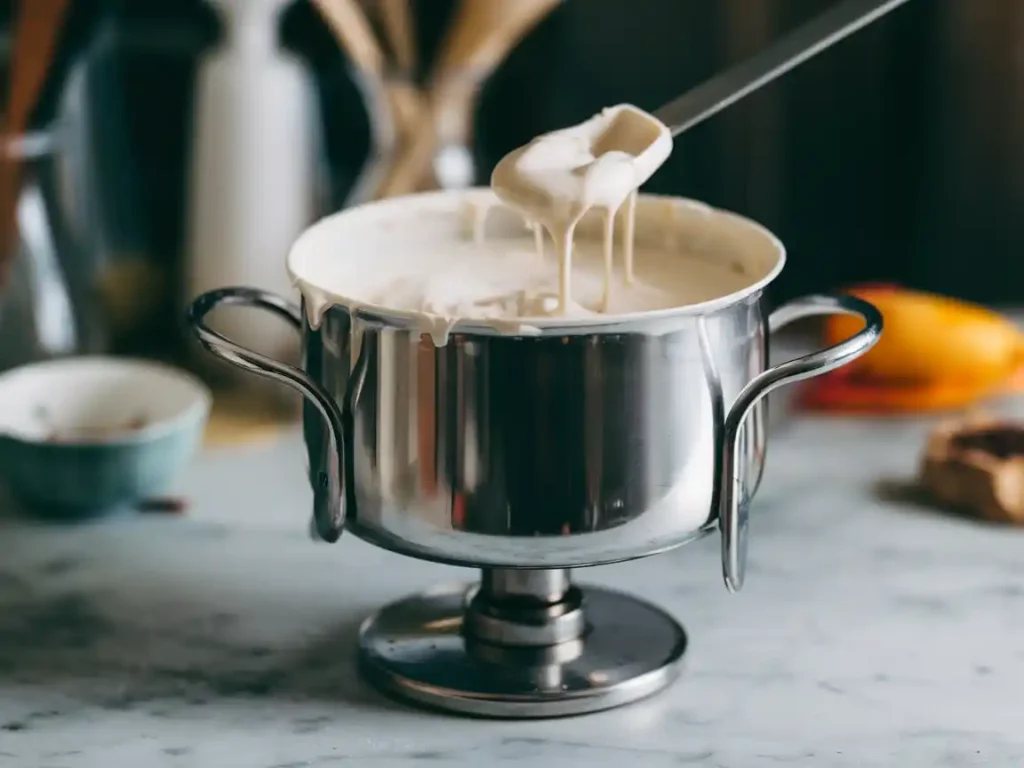
The first step in preparing white chocolate is melting the cocoa butter. Here’s how to do it right:
- Set Up Your Double Boiler: Place a heatproof bowl over a pot of simmering water, ensuring the bottom of the bowl doesn’t touch the water.
- Add Cocoa Butter: Allow it to melt slowly, stirring occasionally with your spatula.
- Incorporate Sugar: Gradually add the sugar, ensuring it dissolves completely for a smooth texture.
- Mix in Milk Solids: Sift the powdered milk to prevent lumps, then stir it into the melted mixture.
Once everything is combined, you’ll notice a thick, glossy mixture—this is the foundation of your white chocolate.
Achieving the Right Consistency
Consistency can make or break your white chocolate. Too runny, and it won’t set; too thick, and it may become difficult to work with. To ensure the perfect balance:
- Monitor Temperature: Keep the mixture between 104°F and 115°F during melting.
- Stir Constantly: This prevents sugar from settling at the bottom and ensures even distribution.
- Cool Gradually: Once the mixture is combined, let it cool slightly before pouring into molds.
Achieving the right consistency might take practice, but it’s well worth the effort when your white chocolate sets perfectly.
Best Practices for Handling White Chocolate
Handling white chocolate properly is just as important as preparing it. This delicate ingredient can easily go wrong if not treated with care. By following a few simple rules, you can avoid common pitfalls and get the most out of your white chocolate.
Rules for Properly Melting White Chocolate
Learning how to prepare white chocolate, especially melting it, can be tricky.
Optimal Temperature Ranges
- Always melt white chocolate slowly at a temperature between 104°F and 113°F.
- Never exceed 120°F, as this can cause the cocoa butter to separate or burn.
- Use a thermometer to keep track—guessing the temperature is risky.
Avoiding Burnt or Grainy Chocolate
Burnt chocolate is a sad fate no one wants to encounter. To prevent this:
- Use a Double Boiler: This gentle heat method reduces the chances of scorching.
- Chop Chocolate Finely: If you’re remelting pre-made white chocolate, small pieces melt more evenly.
- Stir Continuously: This keeps the heat distributed evenly across the mixture.
When melted correctly, white chocolate should be smooth and glossy—perfect for drizzling, molding, or mixing.
Tips for Setting White Chocolate Perfectly
Setting white chocolate may sound easy, but small mistakes can result in soft or crumbly textures. To set your chocolate like a pro, consider these factors:
Factors That Affect Texture and Firmness
- Cooling Time: Allow white chocolate to cool and set at room temperature before refrigerating. Sudden changes in temperature can cause it to crack.
- Humidity: High humidity can make the chocolate sticky, so work in a cool, dry environment.
- Thickness: Thicker layers take longer to set, so be patient and give the process the time it needs.
By following these tips, you’ll end up with firm, smooth chocolate that’s ready for any dessert you have planned.
Practical Applications for White Chocolate
White chocolate isn’t just a sweet treat to nibble on—it’s a versatile ingredient that brings a creamy, rich flavor to countless desserts. Whether you’re a seasoned baker or a home cook experimenting with new ideas, white chocolate opens up a world of possibilities. From frostings to fillings and elegant decorations, let’s explore how this luxurious ingredient can transform your culinary creations.
Popular Uses of White Chocolate in Desserts
White chocolate shines brightest when used in desserts. Its subtle sweetness and buttery flavor complement a wide range of recipes, making it a favorite for both classic and modern confections.
White Chocolate Ganache and Frosting
Ganache and frosting are two of the most popular ways to showcase white chocolate in desserts. Here’s why they work so well:
- Ganache: Made by melting white chocolate with cream, this smooth and velvety mixture can be used as a glaze, filling, or base for truffles.
- To prepare: Heat equal parts cream and white chocolate, stir until smooth, and let it cool before using.
- Frosting: Adding melted white chocolate to buttercream results in a rich and decadent frosting that pairs beautifully with cakes and cupcakes.
Both applications highlight white chocolate’s ability to bring an indulgent, creamy element to your bakes.
Incorporating White Chocolate in Baking Recipes
White chocolate doesn’t stop at ganache and frosting—it’s also a staple in baked goods. For instance:
- Cookies: White chocolate chips elevate simple cookies with bursts of sweetness.
- Blondies: A white chocolate twist on brownies, blondies are a favorite for those who prefer a lighter, caramel-like flavor.
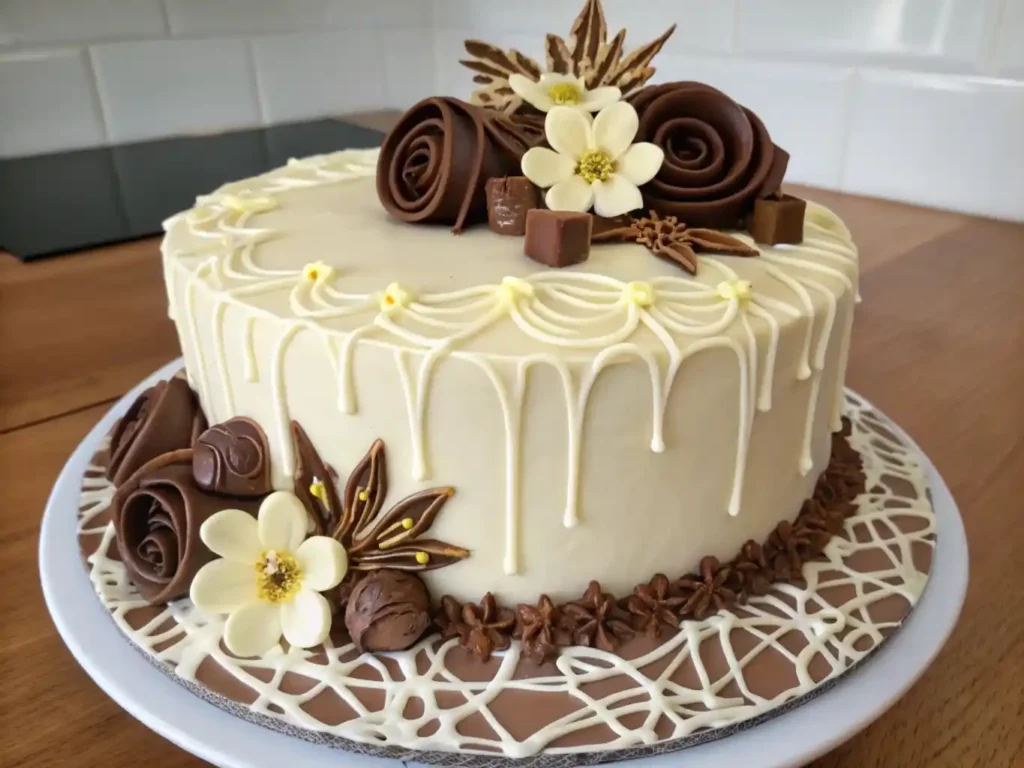
- Cakes: White chocolate can be melted into batters or drizzled over finished cakes for a show-stopping presentation.
The versatility of white chocolate in baking ensures that it fits seamlessly into almost any recipe, providing texture and flavor in equal measure.
For a unique dessert twist using white chocolate, check out this delicious recipe for White Chocolate in Gluten-Free Yellow Cake
Creative Ways to Work with White Chocolate
Taking white chocolate beyond traditional recipes is where the fun truly begins. With a little creativity, you can use this ingredient to create stunning decorations or introduce unique flavor profiles to your desserts.
Decorating Techniques Using White Chocolate

White chocolate is a go-to for dessert decoration. Its smooth texture and ability to hold color make it ideal for detailed designs:
- Drizzles: Melted white chocolate can be drizzled over cakes, cookies, or brownies for a simple yet elegant look.
- Molds and Shapes: Pour white chocolate into silicone molds to create edible decorations like flowers, stars, or holiday-themed designs.
- Marbled Effects: Combine white and dark chocolate to create a beautiful marbled effect on cakes or tarts.
These techniques not only enhance the visual appeal of desserts but also add layers of flavor and texture.
Infusing Flavors into White Chocolate
One of the most exciting aspects of working with white chocolate is its ability to absorb and showcase other flavors. For example:
- Citrus Zest: Stir in orange or lemon zest for a refreshing twist.
- Spices: Add ground cinnamon or nutmeg for a warm, cozy flavor.
- Extracts: A few drops of almond or peppermint extract can transform white chocolate into something truly special.
Flavor infusions allow you to customize white chocolate to suit the theme of your dessert, making it a highly adaptable ingredient.
Challenges When Working with White Chocolate and How to Overcome Them
As delightful as white chocolate is, it’s also notoriously finicky to work with. From separation during melting to losing its shine while setting, challenges abound. Luckily, with the right approach, these issues are easy to resolve.
Preventing Separation During Melting

White chocolate has a lower melting point than milk or dark chocolate, making it prone to separation if overheated. To avoid this:
- Use a Double Boiler: This provides gentle, even heat, reducing the risk of separation.
- Stir Continuously: Keeping the mixture in motion helps prevent hot spots.
- Add Fat If Necessary: A small amount of vegetable oil or cocoa butter can help bring separated chocolate back together.
With these tips, you’ll achieve a smooth, cohesive mixture every time.
Maintaining Glossiness During Setting
Nothing is more disappointing than white chocolate that turns dull or chalky after setting. To keep that beautiful sheen:
- Temper the Chocolate: Properly tempering white chocolate involves controlled melting and cooling to ensure a glossy finish.
- Avoid Humidity: Moisture can ruin the appearance and texture of white chocolate, so work in a cool, dry environment.
- Store Correctly: Keep finished products in an airtight container to protect them from air and moisture.
These steps not only preserve the chocolate’s gloss but also enhance its texture and shelf life.
Troubleshooting Common Issues
Even with careful preparation, issues can arise. Here’s how to address some of the most common problems:
- Grainy Texture: This usually happens when the sugar or milk solids don’t dissolve completely. Prevent it by sifting powdered ingredients and stirring thoroughly.
- Soft Setting: If your white chocolate doesn’t set properly, check for excess moisture or improper cooling.
- Blooming: A white, powdery coating (known as bloom) can occur if chocolate is exposed to fluctuating temperatures. Fix this by re-melting and re-tempering the chocolate.
Understanding these challenges and their solutions ensures that your white chocolate creations will turn out perfectly every time.
FAQs About White Chocolate
White chocolate may seem simple, but it comes with its fair share of challenges—especially for those just learning how to prepare white chocolate. Below, we’ll address some of the most common questions about white chocolate preparation, including tips for melting, setting, and achieving the perfect texture. Whether you’re troubleshooting an issue or simply curious, this section will guide you step by step and ensure you have all the answers you need.
How Is White Chocolate Prepared?
What Are the Essential Ingredients?
White chocolate relies on just three main ingredients: cocoa butter, sugar, and milk solids. However, to elevate its flavor, you can also incorporate vanilla or other natural extracts. The quality of these ingredients is crucial—higher quality cocoa butter and pure vanilla result in a richer, more satisfying chocolate.
Additionally, some recipes call for stabilizers or emulsifiers like lecithin to improve texture and shelf life. While optional in homemade recipes, these additions are common in commercial white chocolate.
What Steps Ensure the Best Quality?
To ensure top-quality white chocolate, focus on precision and patience. Here’s how:
- Measure Ingredients Accurately: Even slight variations can affect texture and flavor.
- Melt Gently: Use a double boiler to prevent overheating.
- Stir Continuously: This avoids clumping and creates a smoother final product.
Following these steps ensures a creamy and professional result every time.
What Is the Best Way to Melt White Chocolate?
Melting white chocolate is one of the trickiest aspects of working with this delicate ingredient. With its lower melting point and sensitivity to heat, it’s essential to use the right method.
Microwave vs. Double Boiler Method
- Microwave:
- Break the chocolate into small, even pieces.
- Heat in short intervals (15–20 seconds), stirring between each burst.
- Stop heating when the chocolate is about 80% melted—residual heat will melt the rest.
- Double Boiler:
- Place a heatproof bowl over a pot of simmering water.
- Stir constantly to ensure even heat distribution.
- Remove the bowl from heat as soon as the chocolate melts completely.
Both methods work well, but the double boiler offers more control, reducing the risk of burning.
Tips for Consistent Melting
To achieve a smooth, lump-free melt:
- Chop Evenly: Smaller, uniform pieces melt faster and more evenly.
- Avoid Water Contact: Even a drop of water can cause chocolate to seize, creating a grainy texture.
- Stir Constantly: This helps distribute heat evenly and prevents scorching.
With these tips, you’ll have beautifully melted chocolate ready for any recipe.
What Are the Rules for White Chocolate?
Working with white chocolate successfully requires attention to detail. From temperature control to food safety, these guidelines ensure a flawless outcome.
Guidelines for Temperature and Mixing
White chocolate is highly sensitive to heat, so maintaining the right temperature is critical.
- Melting: Keep temperatures between 104°F and 113°F.
- Cooling: Allow chocolate to cool slowly to prevent cracking or blooming.
- Mixing: Stir frequently and gently to avoid incorporating air bubbles, which can affect texture.
These guidelines not only improve the chocolate’s appearance but also its taste and usability.
Ensuring Food Safety Standards
When preparing white chocolate, it’s essential to follow food safety practices:
- Use Clean Utensils: Any residue can alter the flavor or introduce contaminants.
- Store Properly: Keep chocolate in a cool, dry place, away from direct sunlight and moisture.
- Work Quickly: Prolonged exposure to room temperature can cause the chocolate to soften or pick up impurities.
By keeping these precautions in mind, you’ll produce chocolate that is both safe and delicious.
How Do You Set White Chocolate?
Setting white chocolate can be deceptively simple, but several factors influence the final texture and firmness. Getting it right ensures a smooth, professional-looking result.
Best Practices for Firm and Smooth Texture
To achieve a perfect set:
- Cool Gradually: Let the chocolate set at room temperature before refrigerating.
- Choose the Right Mold: Silicone molds work best, as they release chocolate easily without breaking.
- Tap Out Air Bubbles: After pouring the chocolate into molds, gently tap them on the counter to remove trapped air.
These steps help create a firm, glossy finish ideal for decorations or standalone treats.
Environmental Factors to Consider
Environmental conditions play a significant role in how well white chocolate sets. For example:
- Humidity: Excess moisture can cause stickiness, so work in a dry area.
- Temperature: A cool, stable temperature of around 65°F–70°F is optimal.
- Airflow: Avoid drafts, as they can cool the chocolate unevenly.
By controlling these factors, you’ll produce perfectly set chocolate every time.
Common Questions About White Chocolate
Why Does White Chocolate Sometimes Turn Yellow?
Yellowing often occurs due to oxidation or exposure to high temperatures. Storing white chocolate in an airtight container and keeping it out of direct sunlight can prevent this issue.
Can You Add Food Coloring to White Chocolate?
Yes, but use oil-based food coloring to avoid causing the chocolate to seize. Water-based colorings should be avoided, as they don’t mix well with the fat content in white chocolate.
What’s the Best Way to Store White Chocolate?
Store white chocolate in a cool, dry place at 60°F–70°F. Avoid refrigerating unless absolutely necessary, as condensation can affect its texture and appearance.

